Lark
Lark’s comprehensive and in-depth open capabilities serve as a hub of information and an entry point for businesses, integrating with existing IT ecosystems in enterprises. It effectively supports and complements existing IT systems, enhances digital efficiency in enterprises, and assists in building an all-in-one collaborative platform, allowing employees to focus on their work and simplifying their tasks, while enabling IT personnel to develop agilely and enjoy a better user experience.
Before setting up
Before you can connect you need to make sure that you have a Lark account and you are setted up as an admin and the bot is enabled for the necessary groups
Creating Lark custom application
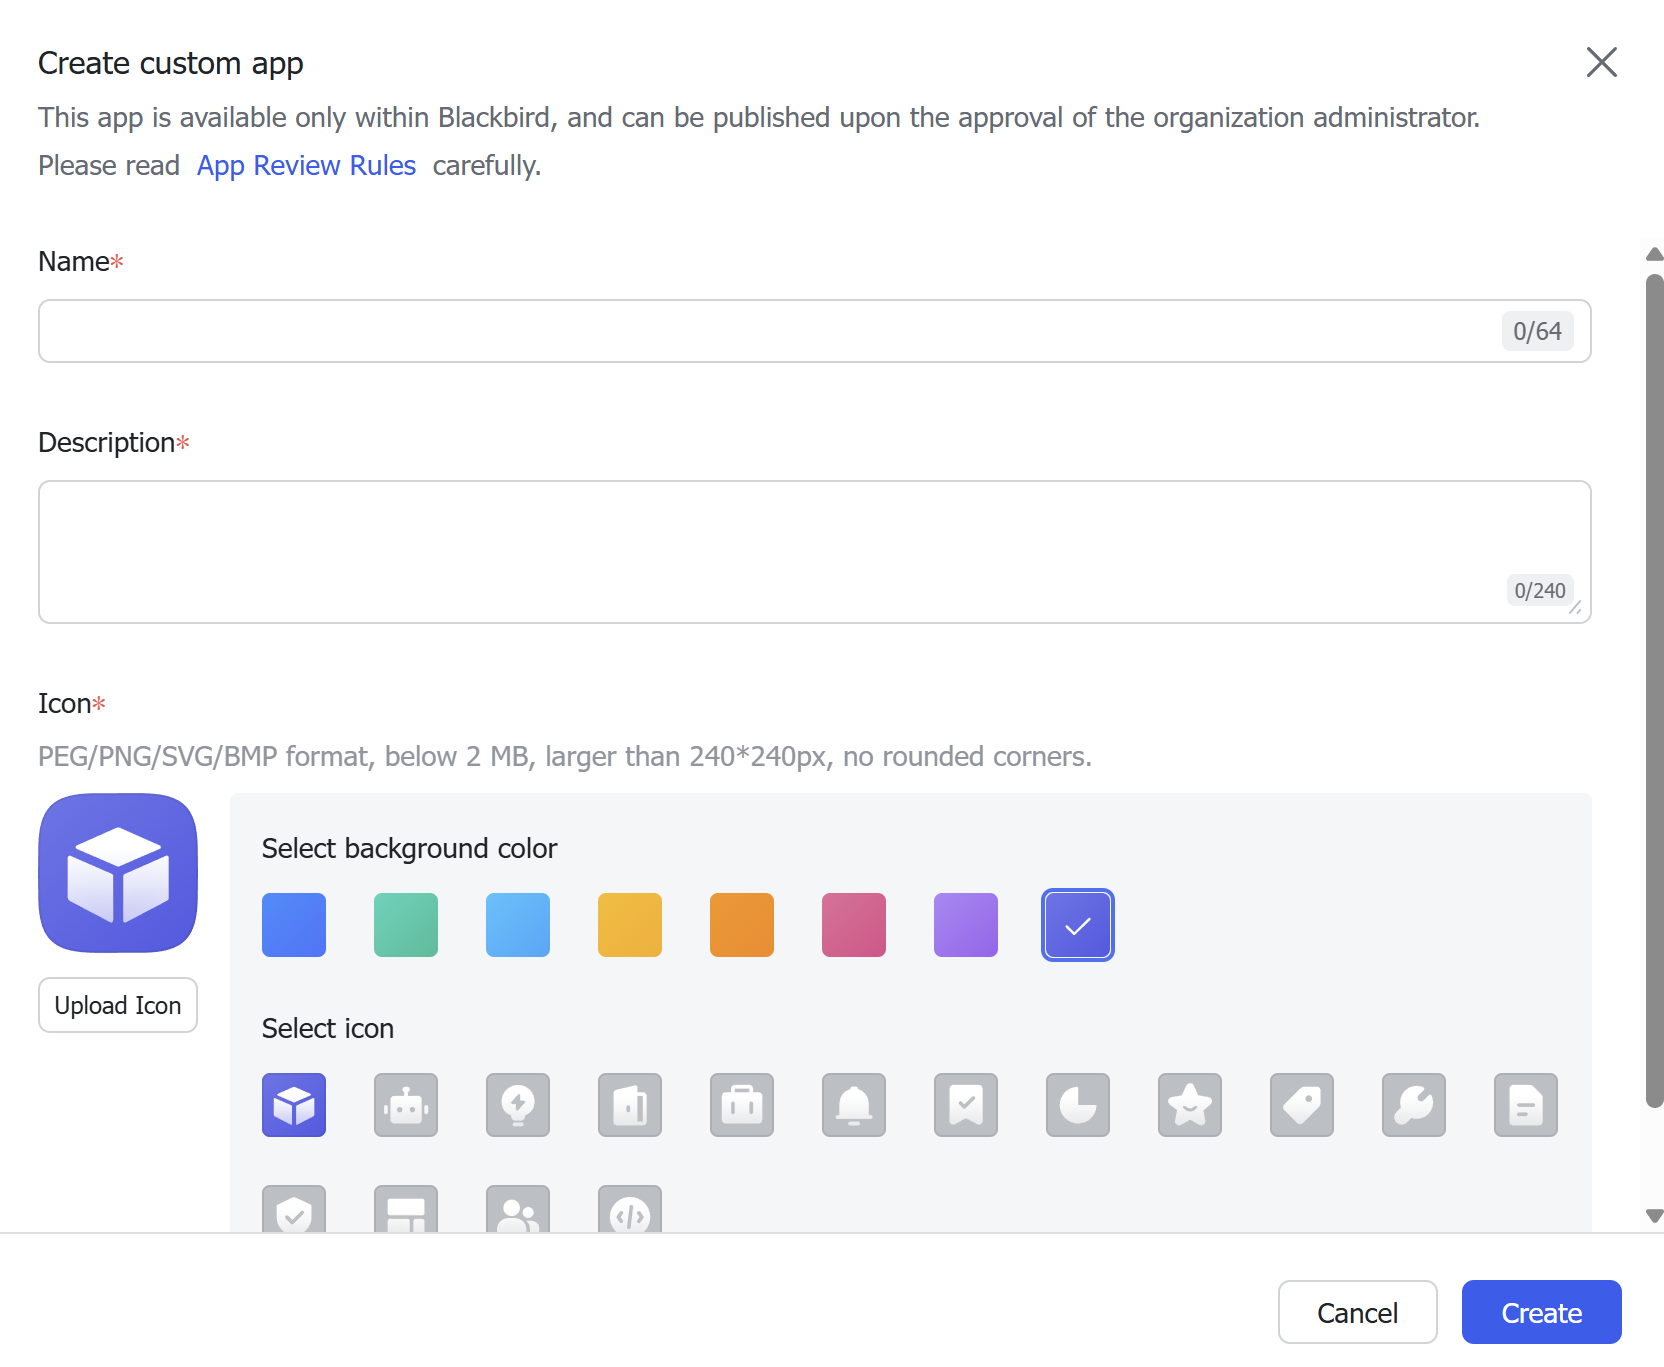
To create a Lark custom application, follow these steps:
-
Go to the Lark Developer Console.
-
Click on Create Custom App.
-
Fill in the required information:
- App Name: Choose a name for your application.
- App Icon: Upload an icon for your application.
- App Description: Provide a brief description of your application.
-
Click on Create to create your application
-
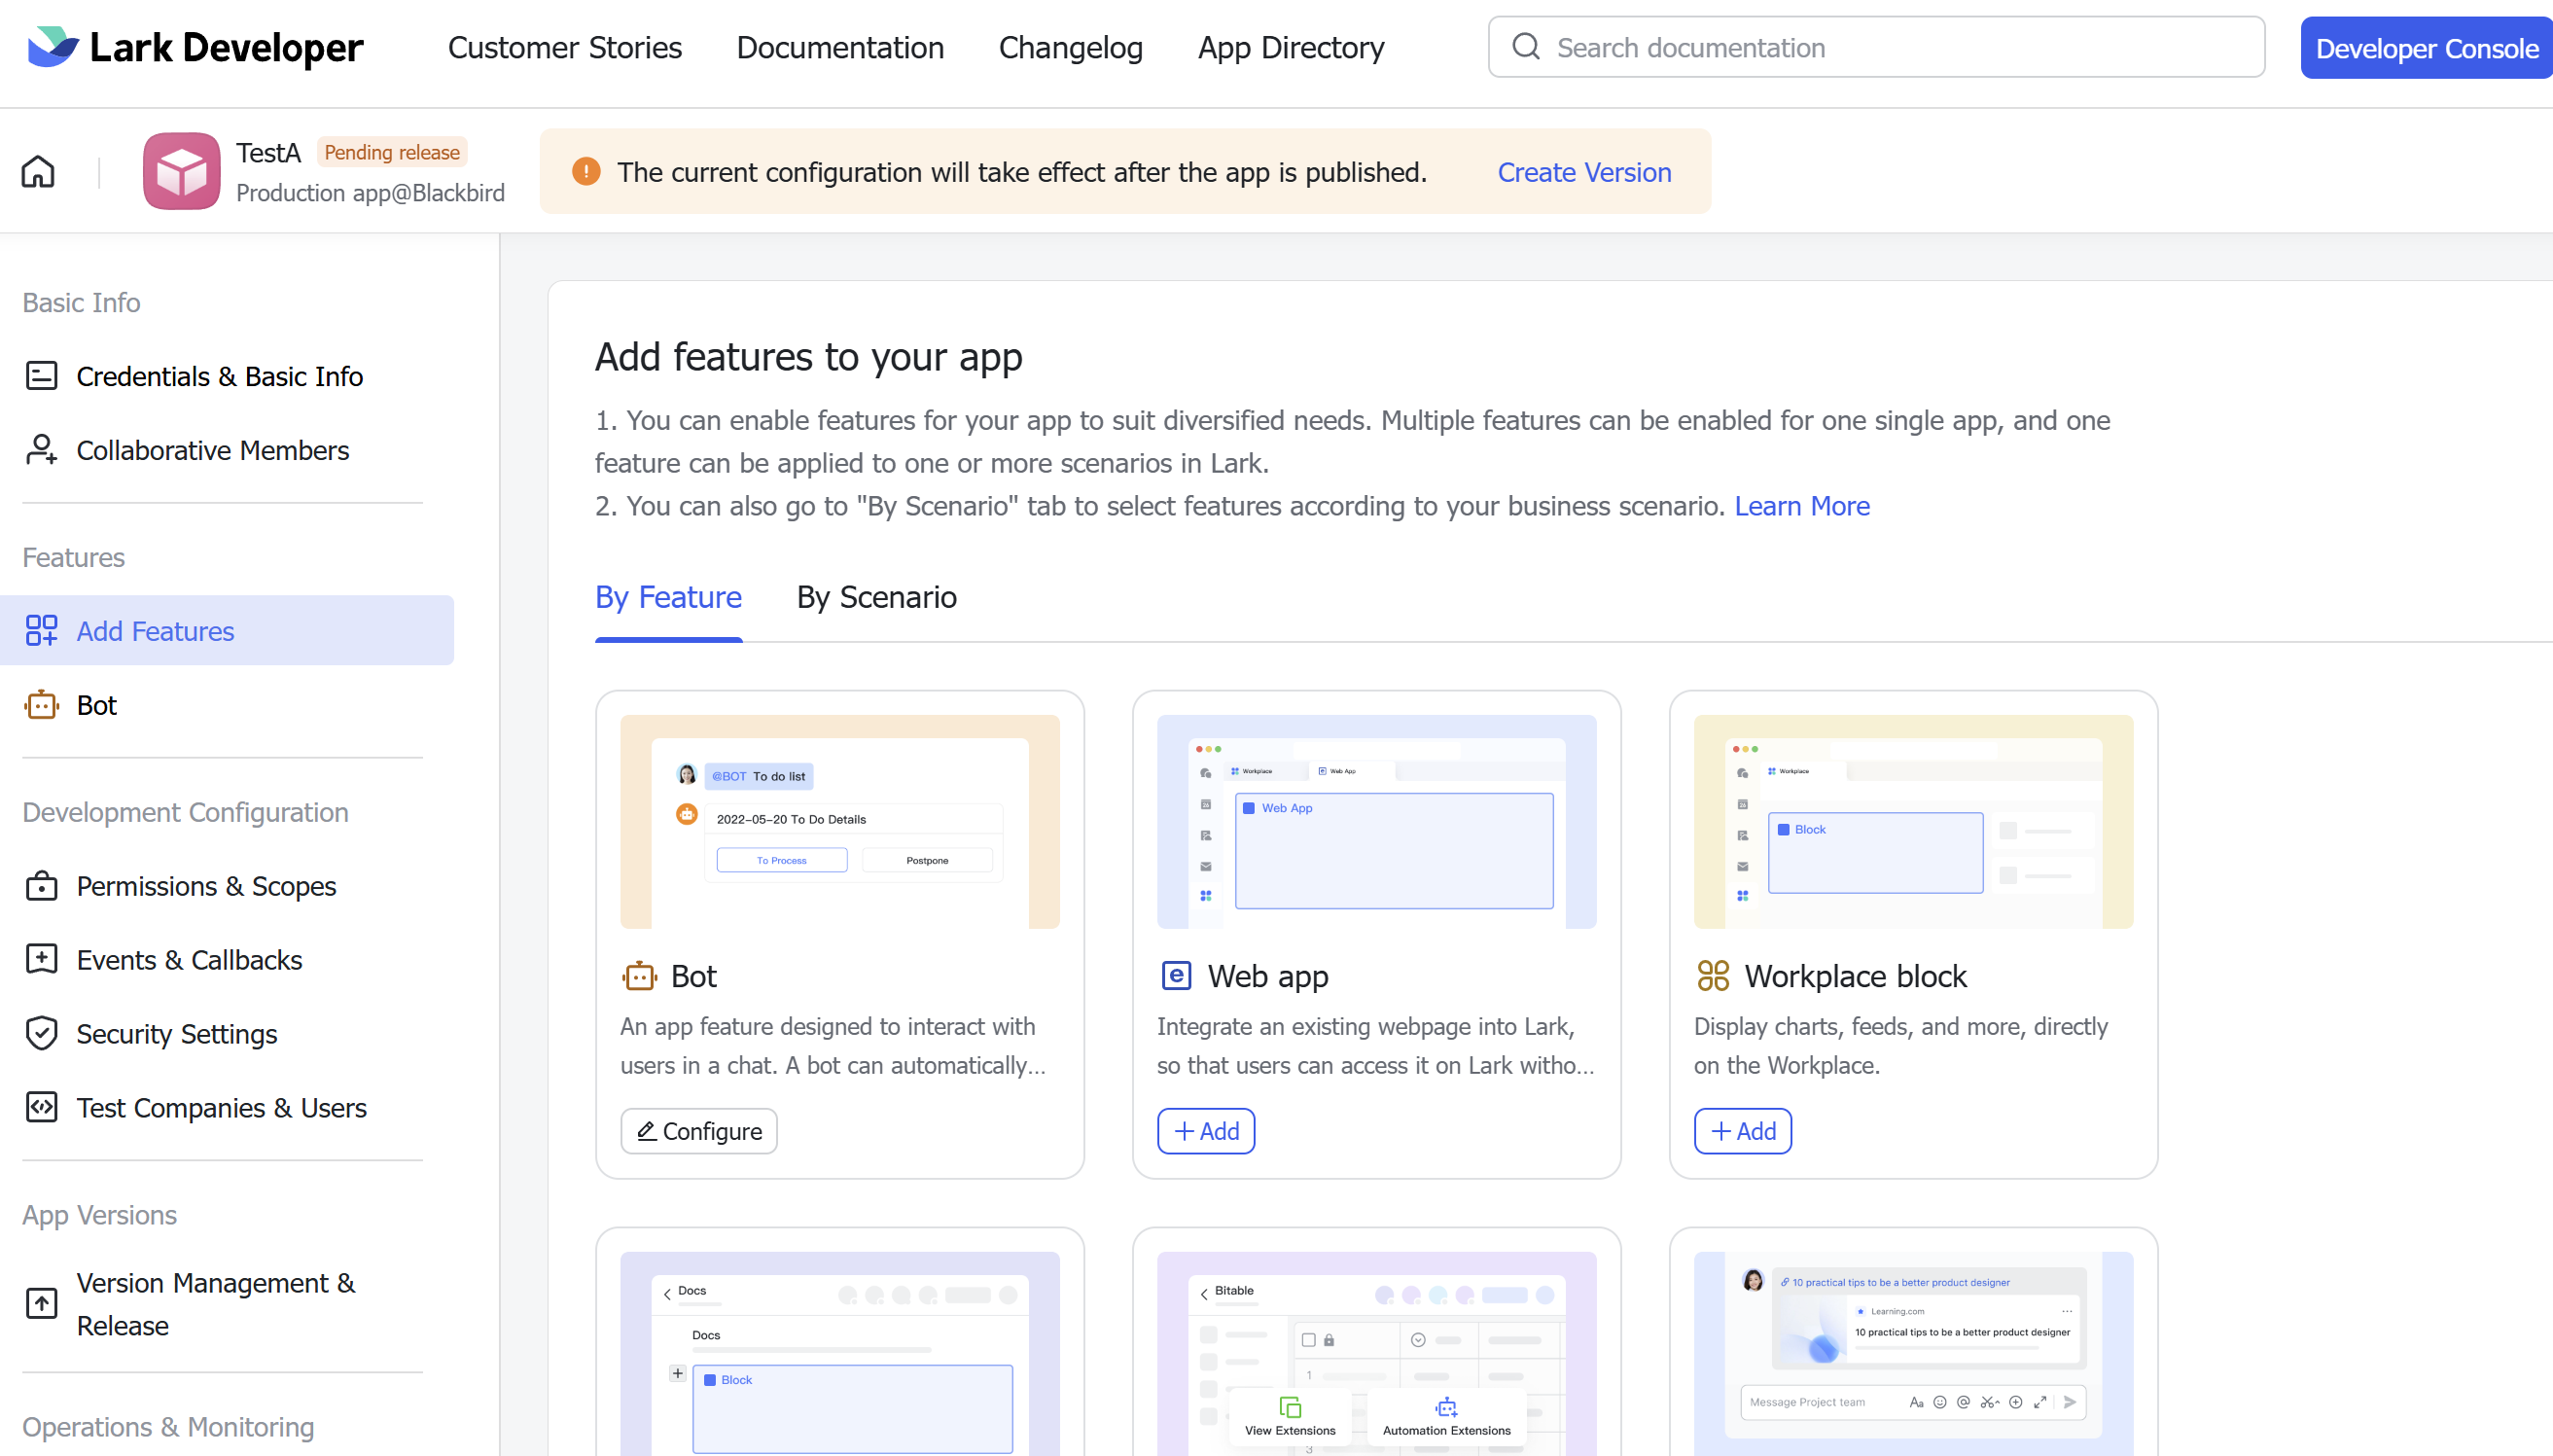
After creating the customn application, you will be redirected to the Add features page
-
Select the features you want to add to your application. For current configuration, you will need Bot, Web app, Workplace block and Base record view.
-
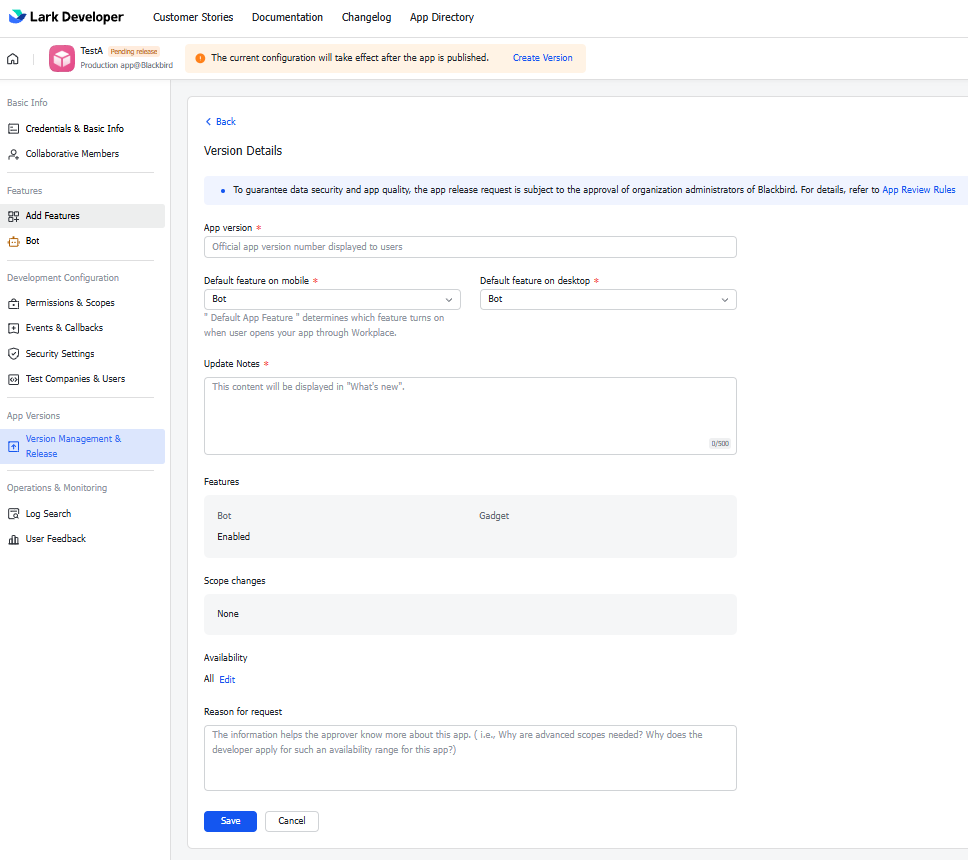
After configuring the features you need to release the app version
Adding scopes
To add scopes to your Lark application, follow to page Permissions & Scopes
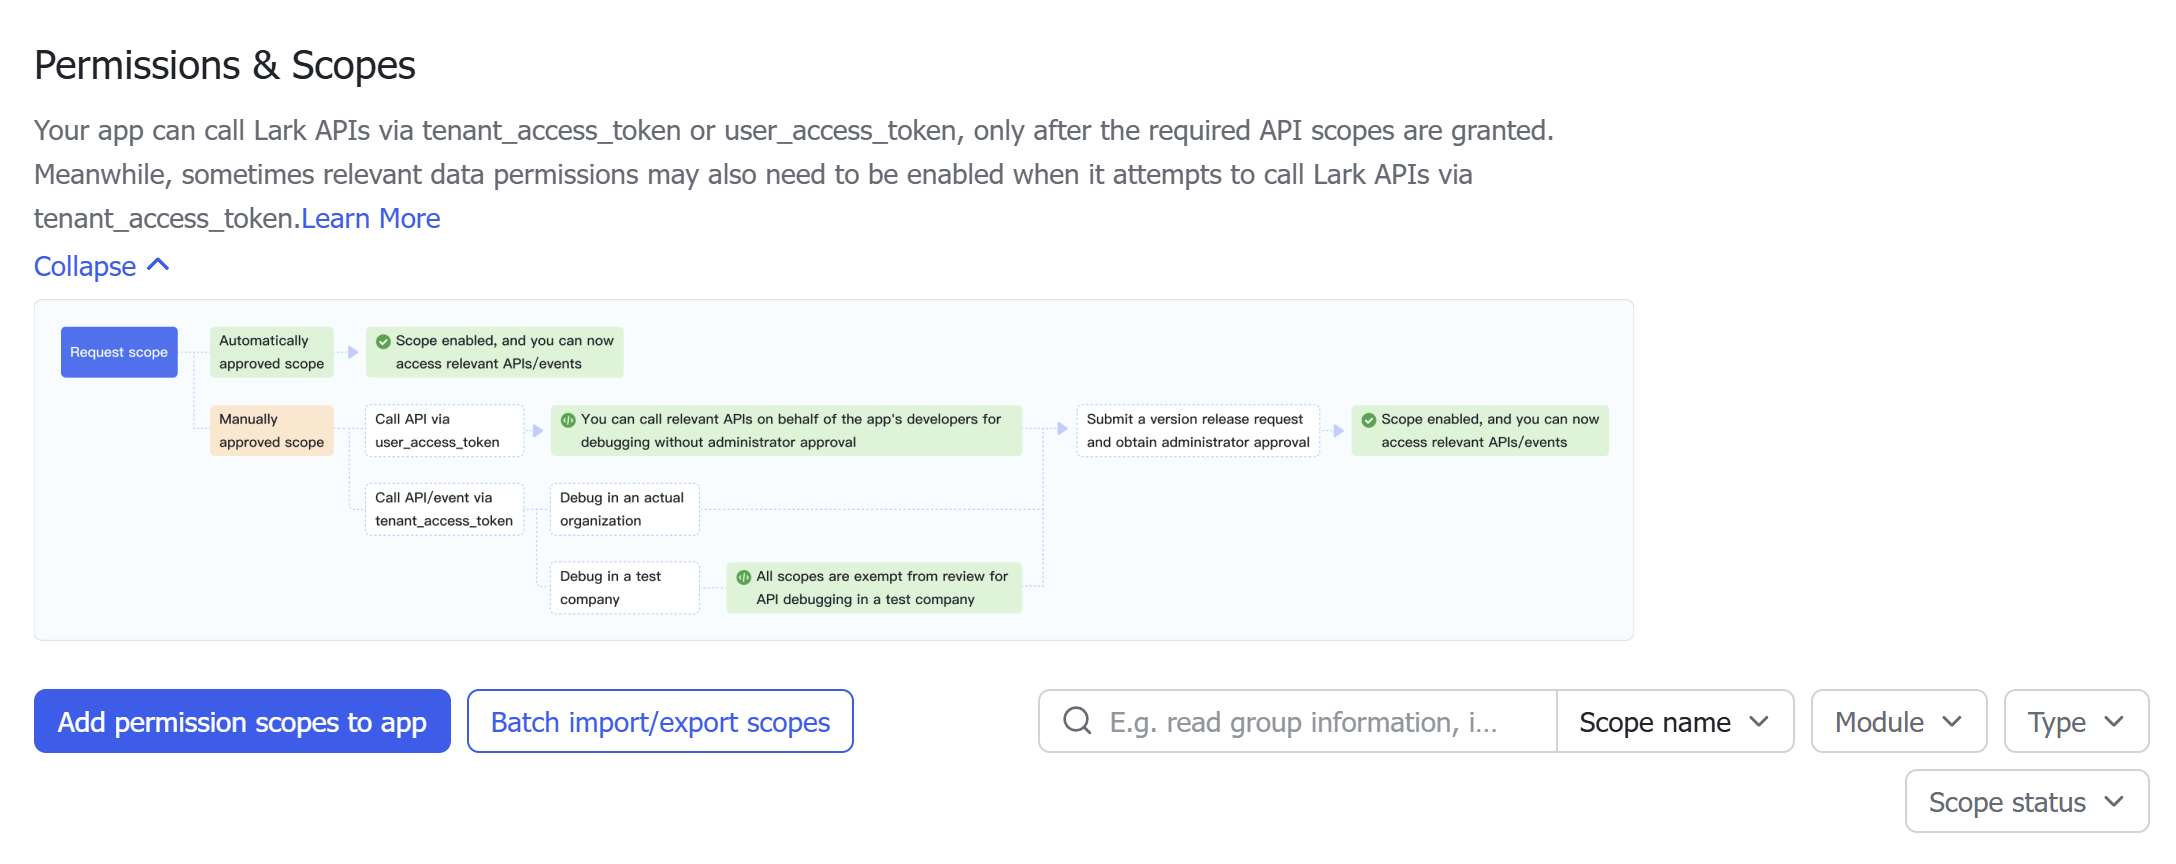
Click on Add permission scopes to app and select the scopes you want to add to your application.
For current configuration, you will need the following scopes:
Base tables
| Scope | Description |
|---|---|
bitable:app | View, comment on, edit, and manage bases |
bitable:app:readonly | View, comment on, and export bases |
General scopes
| Scope | Description |
|---|---|
contact:user.base:readonly | Access users’ basic information |
contact:user.employee_id:readonly | Access users’ employee IDs; obtain user ID |
drive:drive | View, comment, edit, and manage all files in My Space |
drive:drive:readonly | View, comment on, and download all files in My Space |
drive:export:readonly | Export Docs documents |
drive:file | Upload and download files to My Space |
drive:file:readonly | View and download files in My Space |
Spreadsheets
| Scope | Description |
|---|---|
docs:document:export | Export document |
sheets:spreadsheet | View, comment, and manage Sheets |
sheets:spreadsheet:readonly | View, comment, and export Sheets |
Messages
| Scope | Description |
|---|---|
im:message | Read and send messages in private and group chats |
im:message:readonly | Read messages in private and group chats |
im:message:send_as_bot | Send messages as an app |
im:resource | Read and upload images or other files |
im:message:update | Update message |
Getting credentials
To get the Application ID and Application Secret, follow these steps:
-
Go to the Lark Developer Console.
-
Select your application.
-
In the left sidebar, click on Credentials and Basic info.
-
You will find the Application ID and Application Secret in the Credentials section.
Connecting
- Navigate to Apps, and identify the Lark app. You can use search to find it.
- Click Add Connection.
- Name your connection for future reference e.g. ‘My organization’.
- Input the ‘Application ID’ and ‘Application Secret’ from your Lark application.
- Click Authorize connection.
Actions
Messages
- Send a message sends a message to a Lark channel or directly to a user
- Send file sends a file to a Lark channel or directly to a user
- Get message gets a message by it ID
- Edit message edits a message by it ID
User
- Get user information from email gets user information from an email address
- Get user information gets user information by user ID
Base table
- Search base tables searches for base tables
- Get base record gets a base record
- Update base record updates a base record. To update fields “Single option”, “Multiline”, please use input property “New value”. To update field “Multiple options”, please use input property “New values”. To update field “Date”, please use input property “New date value”. To update field “Attachment”, please use input property “Attachment”.
- Get person entry from base table record gets a person entry from a base table record
- Get date entries from base table record gets date entries from a base table record
- Get text entry from base table record gets a text entry from a base table record
- Get number entry from base table record gets a number entry from a base table record
- Download attachments from base table record downloads attachments from a base table record
- Insert row to base table inserts a row to a base table
- Find base record by field value finds a base record by partial match in a text/url/link field.
Spreadsheets
- Create spreadsheet creates a new spreadsheet
- Find cells finds cells in a spreadsheet by query
- Add rows or columns adds empty rows or columns to a spreadsheet
- Delete rows or columns deletes rows or columns from a spreadsheet
- Insert rows inserts rows into a spreadsheet. If there are existing rows, the new rows will be inserted before the existing rows
- Add or update rows/columns adds or updates rows or columns in a spreadsheet. If there are existing rows/columns, the new rows/columns will rewrite the existing one. By default uses delimeter
,to split the values. - Get range cells values gets the values of a range of cells in a spreadsheet by specified range
- Get sheet cell retrieves value for a specified cell in a spreadsheet
- Update sheet cell updates value for a specified cell in a spreadsheet
Drive
- Create folder creates a folder in Lark Drive. If no parent folder is provided, the folder is created in the root folder.
- Upload file uploads a file to Lark Drive. If no parent folder is provided, the file is uploaded to the root folder.
- Download file downloads a file from Lark Drive by file token.
Events
- On message received triggers when a message is received in a Lark channel or directly to a user
- On reaction added triggers when a reaction is added to a message in a Lark channel or directly to a user
- On user added to group triggers when a user is added to a group
- On file edited triggers when a file is edited in a Lark channel or directly to a user
- On new rows added triggers when new rows are added to a spreadsheet
- On base table new rows added triggers when new rows are added to a base table. To use this event, you need to add a field of type “Date created” to your table.
- On base table row updated triggers when a base table row, or optionally a specific field, is updated. To use this event, you need to add a field of type “Date modified” to your table.
Note: For the On base table row updated event to work, you need to set up the event subscriptions in your Lark application.
Go to the Events and callbacks section and add the “App record change” event subscription. You will need to provide a callback URL:
https://bridge.blackbird.io/api/webhooks/lark.After setting up the event subscription, make sure to add
bitable:appanddrive:drivefrom both Tenant and User scopes as well ascontact:user.employee_id:readonlyOnce both the event subscription and scopes are set up, make sure to save the changes and publish a new version of your application.
Feedback
Do you want to use this app or do you have feedback on our implementation? Reach out to us using the established channels or create an issue.