Deploying Your App
Blackbird apps that you create using the SDK can be deployed to your Blackbird organization as a custom app. This tutorial assumes Visual Studio 2022.
Note: If you are forking a public app to create a custom app, make sure to update the
Product,PackageId, andAssemblyNamefields in the app’s.csprojfile. Blackbird requires every custom app to have unique system-wide identifiers.
Publishing
Before deploying an app, make sure that it at least contains a class that implements IApplication (and optionally ICategoryProvider ), a class that implements IConnectionDefinition and a class that implements IConnectionValidator. If your app has actions, then make sure your classes implementing actions have the [ActionList] attribute. If you have events make sure that your event classes have the [WebhookList] or [PollingEventList] attribute.
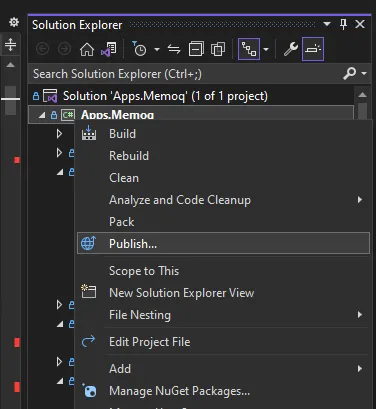
- Right-click on your project in the solution explorer and click Publish
- If you have not created a publish profile yet, create a publish profile that publishes to a local folder.
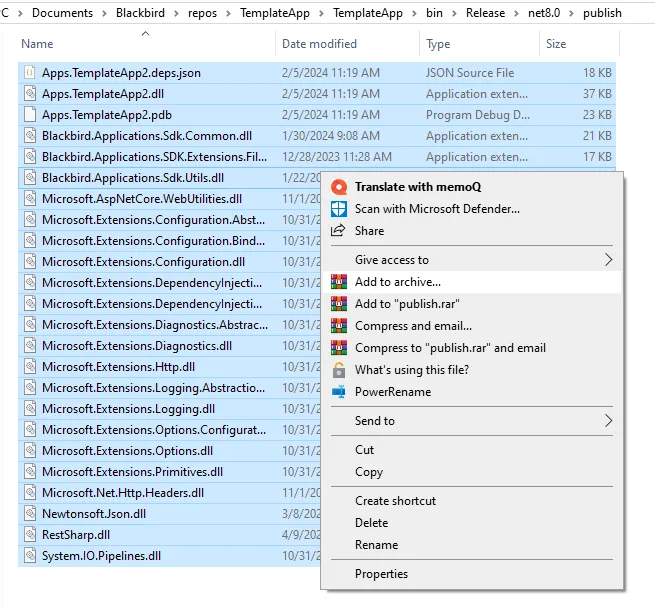
- Click Publish and then Open folder
- Create a
.ziparchive including all files in this folder
Note: If you are working on a Mac, make sure to delete the hidden _MACOSX folder in the zip archive before uploading it to Blackbird.
- Size limitation: plugin builds must be under 16MB. Builds up to 15MB inclusive are accepted. If the build exceeds 16MB, the platform will reject it.
- The
.csprojfile may include the<EnableDynamicLoading>true</EnableDynamicLoading>parameter, which increases the build size. Use it only if the final.zipfile remains under 16MB. If the build exceeds the limit, set this value tofalse. - Example:
<EnableDynamicLoading>false</EnableDynamicLoading>Building via CLI
-
Plugins can be built not only via Visual Studio, but also using the command line with
dotnet build. -
Use the
Releaseconfiguration to minimize the build size. -
Do not specify the
--runtimeparameter, as Blackbird requires a Portable Runtime. Just omit this parameter entirely. -
Example command:
dotnet build [path to .csproj file] --configuration Release- Concrete example:
dotnet build Apps.Contentful/Apps.Contentful.csproj --configuration ReleaseUploading
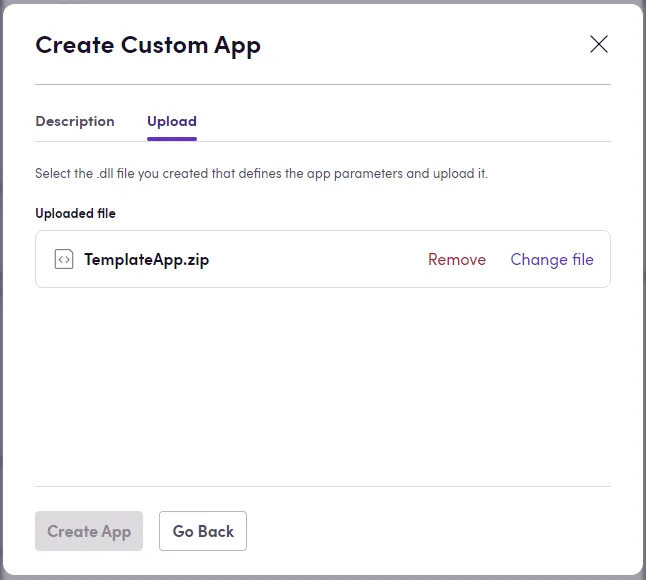
If you want to create a new app, go to Apps -> My custom apps -> Click on Create app. Upload the .zip file on the second step.
If you want to update an existing app. On the app you want to update click New version and then Update App. Upload the .zip file to the screen that pops up and click Update.
Note: When updating an app, make sure that the new version of the app (defined in the
.csprojfile) is higher than the existing version.