Bitbucket
Bitbucket is a cloud-based Git repository hosting service owned by Atlassian that helps developers store and manage their code.
Before setting up
Section titled “Before setting up”Before you can connect, please make sure to follow the instructions below. Choose the one that matches your desired connection type.
API Token
Section titled “API Token”Follow the instructions at this link to create
a new API token. Make sure to enable these permissions:
read:webhook:bitbucket write:webhook:bitbucket delete:webhook:bitbucket read:repository:bitbucket read:user:bitbucket write:repository:bitbucket read:workspace:bitbucket read:pullrequest:bitbucket write:pullrequest:bitbucket
After the token is created, copy it and store it in a safe place. You won’t be able to access it again.
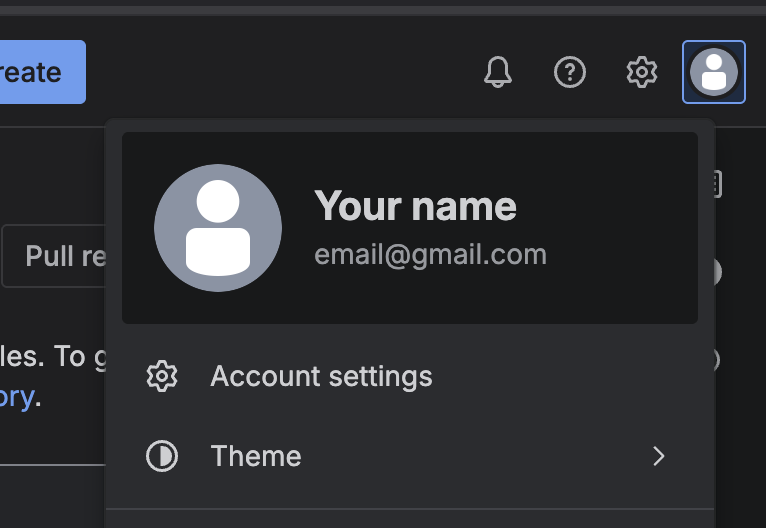
You also need to copy your account email to create a new connection. You can find it in the top-right corner when you click on your avatar.
OAuth2
Section titled “OAuth2”Follow this guide to create a new OAuth app. Additionally:
- Enter this callback URL:
https://bridge.blackbird.io/api/AuthorizationCode - Make sure the
This is a private clientbox is checked - Enable these permissions:
repository workspace repository:write pullrequest pullrequest:write account webhook
After the app is created, copy the client ID and client secret. Store these values in a safe place - you won’t be able to access them again.
Repository access token
Section titled “Repository access token”Use this link to create a new repository access token. After the token is created, copy it and store it in a safe place. You won’t be able to access it again.
Make sure to copy your workspace and repository names - you’ll need to enter them when setting up the connection.
Connecting
Section titled “Connecting”Navigate to apps and search for Bitbucket. Click Add connection and name your connection for future reference e.g. ‘My Bitbucket connection’.
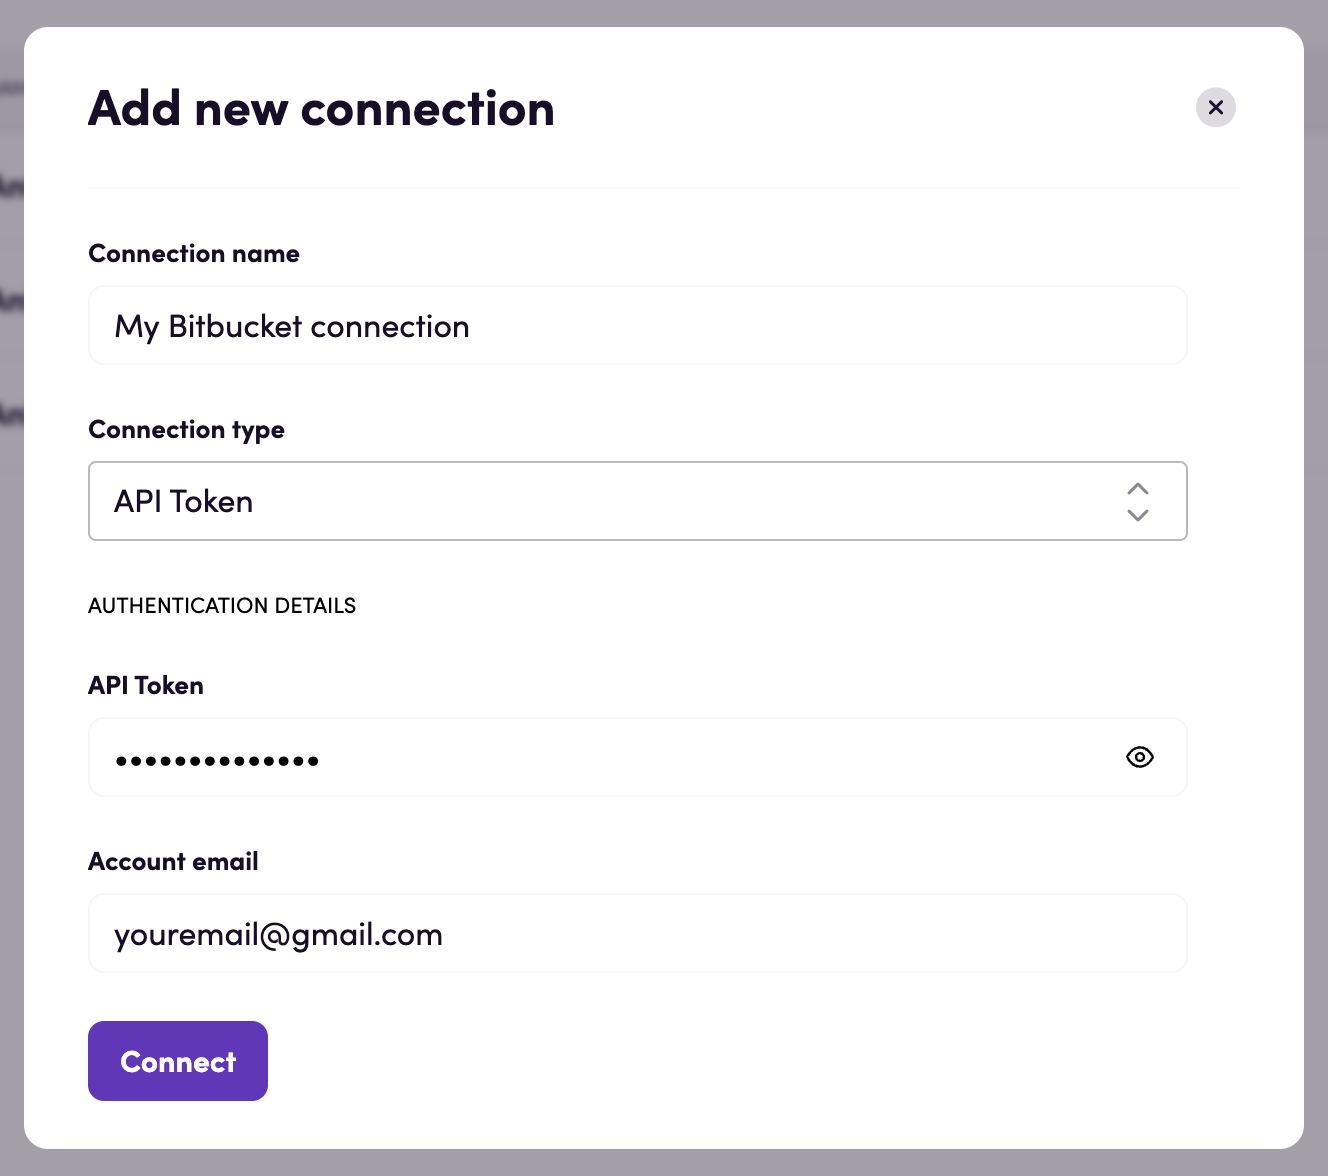
API Token
Section titled “API Token”- Select the API Token connection type from the dropdown.
- Paste your API token and account email.
- Click Connect.
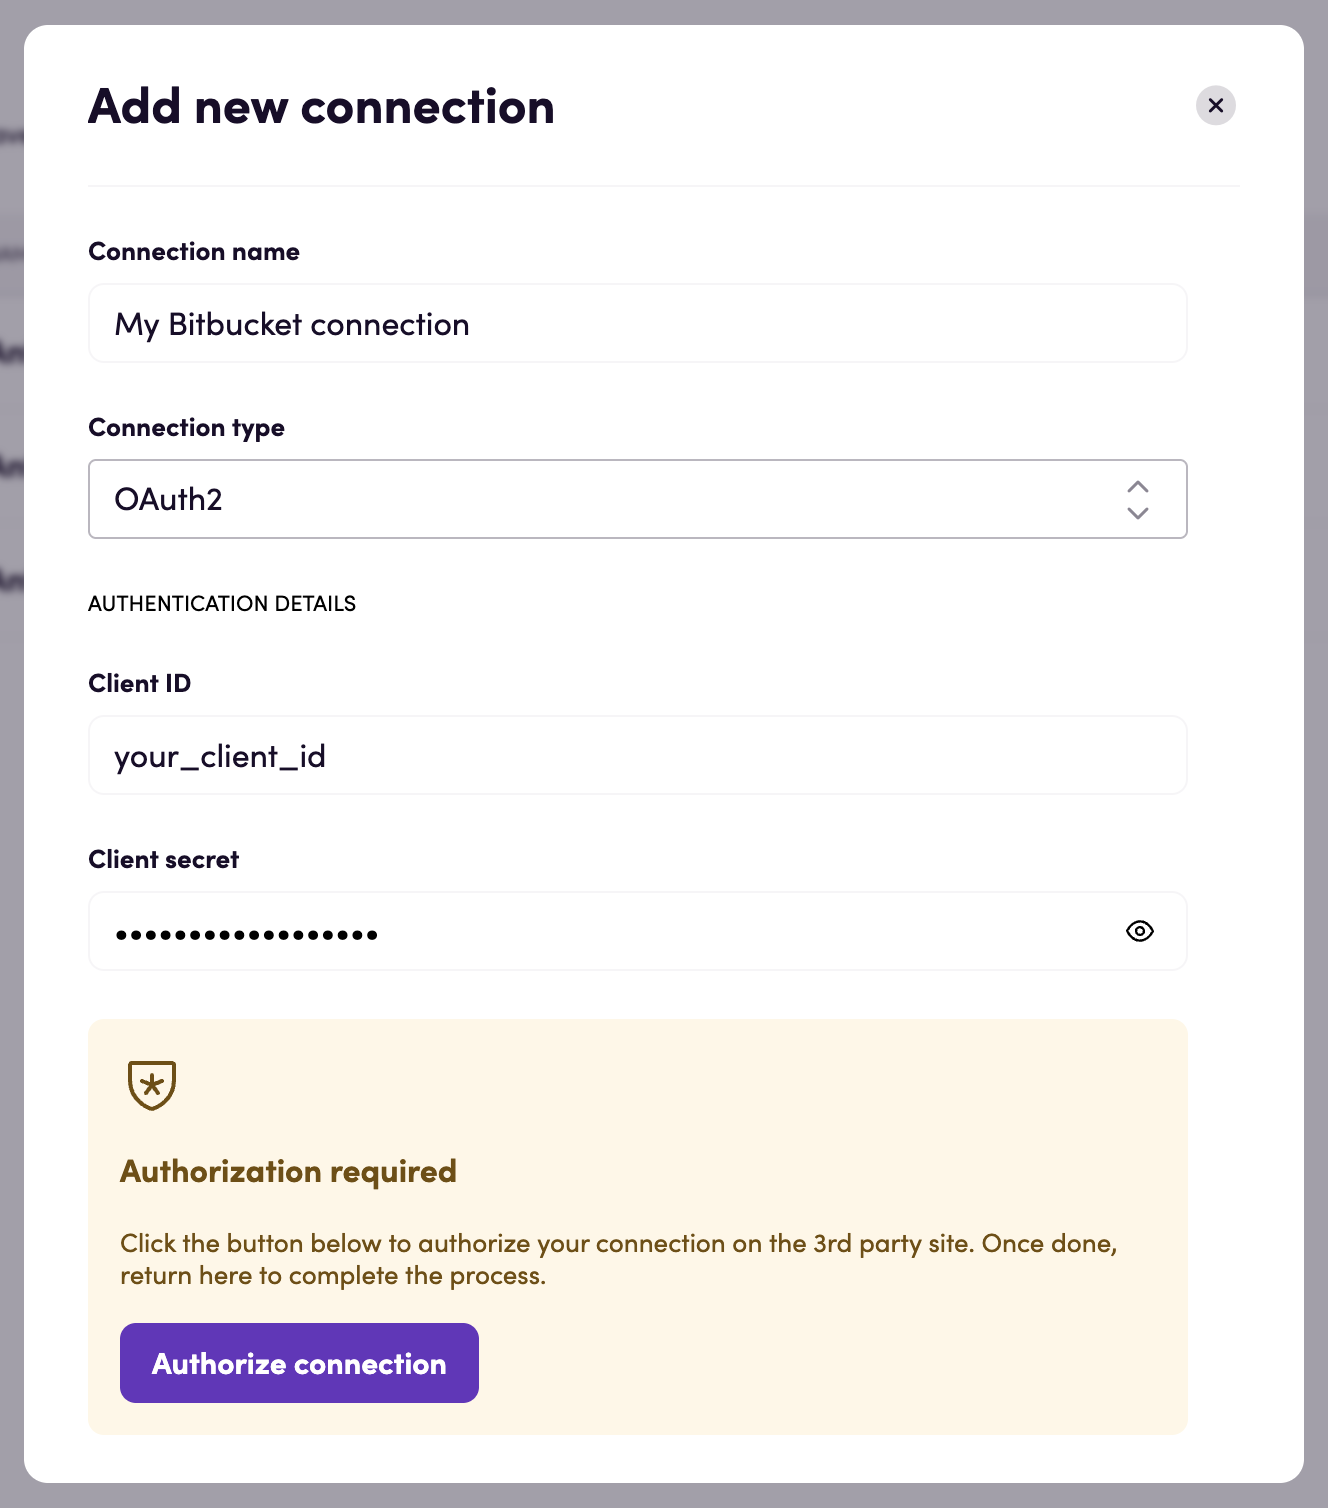
OAuth2
Section titled “OAuth2”- Select the OAuth2 connection type from the dropdown.
- Paste your client ID and client secret.
- Click Authorize connection and follow Bitbucket’s instructions to connect to your custom OAuth2 app.
- When the process is complete, return to Blackbird and confirm the connection was created successfully.
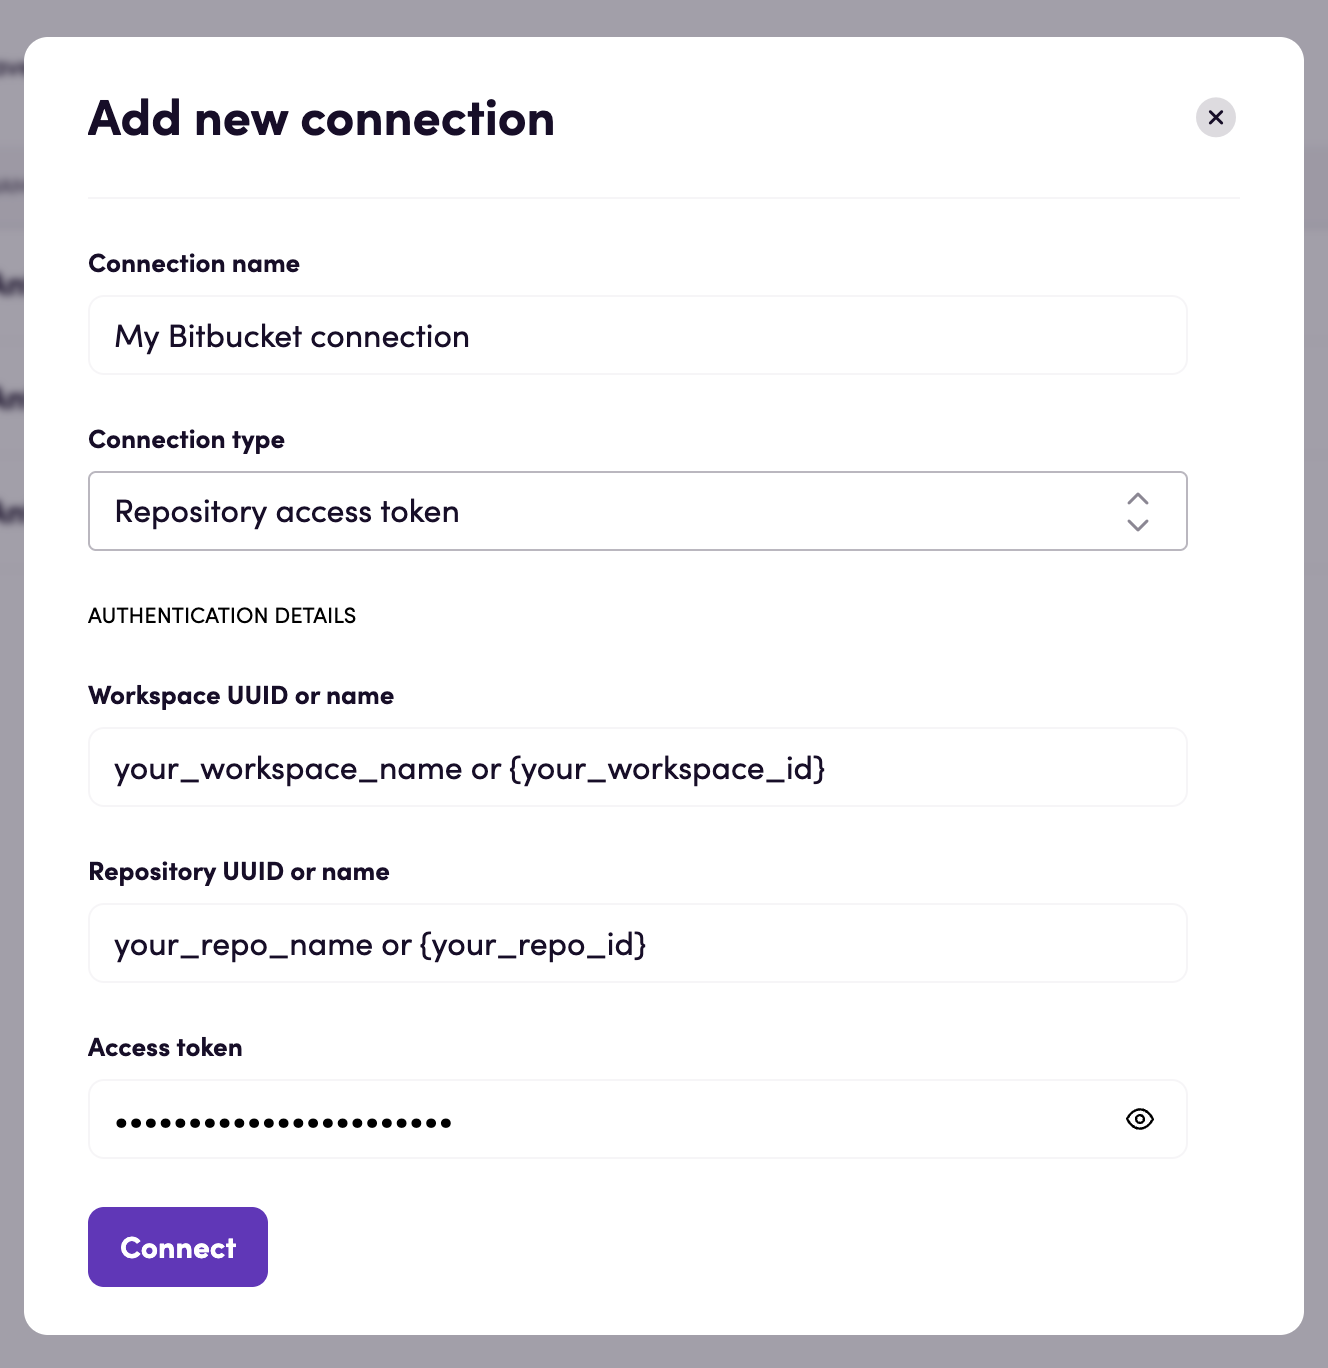
Repository access token
Section titled “Repository access token”- Select the Repository access token connection type from the dropdown.
- Fill in the workspace and repository name inputs. You can use either UUIDs (wrapped in curly brackets) or plain names.
- Click Connect.
Actions
Section titled “Actions”Branches
Section titled “Branches”- Search branches. Search branches in a specific workspace.
- Branch exists. Check if branch exists by name.
- Create branch. Create a new branch in a repository.
- Download file. Download a file.
- Download repository as zip. Download repository content as a zip file.
- Delete file. Commit file deletion.
- File exists. Check if file exists by path.
- Upload file. Commit file upload. Overwrites existing file.
- Search files in folder. Search files in a folder.
Pull requests
Section titled “Pull requests”- Create pull request. Create a new pull request.
- Merge pull request. Merge a pull request.
Repository
Section titled “Repository”- Search repositories. Search repositories in a workspace.
- Get repository. Get information about a repository.
Note: These actions are not supported when using the ‘Repository access token’ connection type due to the limited scopes these tokens have.
- Get my user. Get information about my user.
- Get user. Get information for a specific user.
Events
Section titled “Events”- On files added. Triggers for each new file added to the repository.
- On files added or modified. Triggers for each new file added to the repository or when an existing file is modified.
- On files modified. Triggers when an existing file is modified.
- On files removed. Triggers when an existing file is removed.
File path pattern examples:
^locales/([a-zA-Z]{2}-[a-zA-Z]{2})\.json$matches files likelocales/en-US.jsonand outputsen-USas the extracted part.^locales/en-US.json$matches only thelocales/en-US.jsonfile and leaves the extracted part empty.
Pull requests
Section titled “Pull requests”- On pull request created. Triggers when a pull request is created.
- On pull request created or updated. Triggers when a pull request is created or updated.
The Affected files output is populated only when File path patterns is provided.
Demo video
Section titled “Demo video”In this demo, see how Blackbird.io automates localization workflows directly from Bitbucket repositories.
We’ll walk through a simple but powerful Git-based translation process where content updates in Bitbucket automatically trigger machine translation workflows using DeepL, then commit translated content back into the repository.
In this demo you’ll see how to:
- Detect new or modified content in Bitbucket
- Automatically download and process localization files
- Send content to DeepL for machine translation
- Commit translated content back into Bitbucket
- Configure multilingual workflows using variables and loops
- Dynamically manage folders, filenames, and commit messages
- Extend workflows with AI, PR automation, Jira, Confluence, Notion, and more
This demo highlights how Blackbird.io can orchestrate localization and developer workflows across repositories, AI tools, TMS platforms, and enterprise systems — all in a flexible visual automation platform.
Missing features
Section titled “Missing features”Workspace and project access tokens are not supported in this app. Let us know if you’d like us to add them.
Feedback
Section titled “Feedback”Do you want to use this app or do you have feedback on our implementation? Reach out to us using the established channels or create an issue.